Mining & Depth
Last updated: Aug 19, 2026 · verified in-game
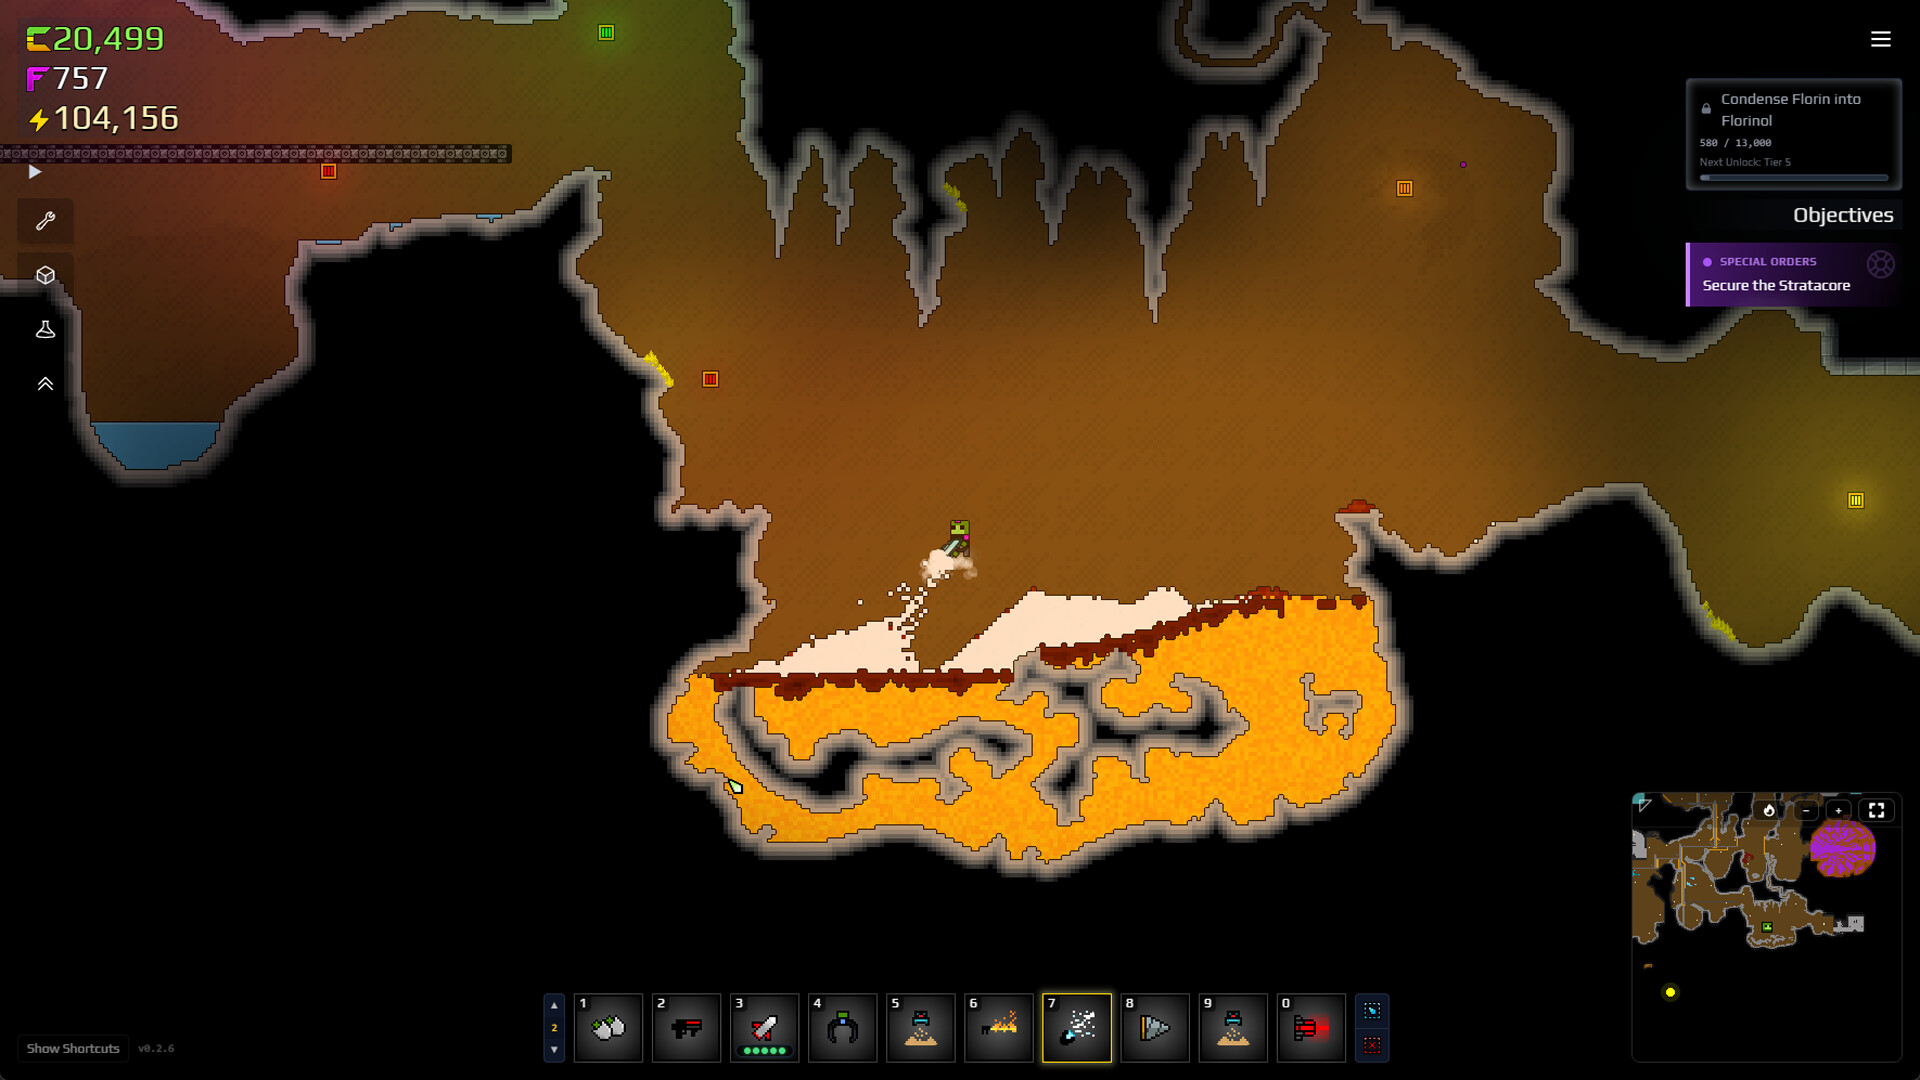
cross-section, not to scale. the walls ARE out to get you below 120m.
💡 Bring 2× the supports you think you need for Layer 3. Then bring one more.
"Tested: drill on Layer 3, output belt under 12 tiles — steady 48 sand/sec. Rich seam near grid C4."
| Layer | Depth | Material | Min. Tool | Yield | Field Notes |
|---|---|---|---|---|---|
| Surface Dunes | 0–40m | Loose sand | Hands / Survey Kit | C | Safe. Sand flows downhill — use it. |
| Layer 1 — Dry Pack | 40–120m | Packed dry sand | Mining Drill Mk1 | B | First real ore traces. No hazards. |
| Layer 2 — Copper Veins | 120–260m | Copper-bearing packed sand | Drill Mk1 (slow) / Mk2 | B | Cave-in risk if you undercut walls. Wash, don't crush. |
| Layer 3 — Wet Sand | 260–480m | Wet sand + iron traces | Deep Drill Mk2 | S | Best raw throughput in the game so far (48 sand/s spots).[? Needs verification] |
| Layer 4 — Ancient Sediment | 480–800m | Sediment + ??? fragments | Deep Drill Mk2 + supports | A | Fragments react to the research screen. Not fully mapped. |
| Layer 5 — The Ruins | 800m+ | Unknown | See Ancient Secrets | S | Spoilers beyond this point. |
Hardness scale 1–5 measured as Mk1 drill time-to-breach, relative. Iron distribution on Layer 3 still being mapped.[? Needs verification]
Last updated: Aug 19, 2026 · verified in-game